The Self Build
The Van
One of the most difficult decisions to make is what sort of van you will get to convert. We were quite lucky with this decision having already converted a VW T5 (A bit too small for us and the two dogs for longer periods) and a Peugeot Boxer Long Wheel base before. So we opted for the Peugeot Boxer again, but this time were lucky enough to find an extra long wheel base, might not be much but the XLWB is around 15 inches longer than the LWB making a big difference inside. Of course this is also the H2 or the high top version, meaning that you can stand up fully inside. We managed to get a really clean example with around 75,000 miles on the clock and a little under three years old. Just for reference the Peugeot Boxer, Citroen Relay and the Fiat Ducato are much the same van, designed between the three companies and then finished off by each of the companies adding their own speck. I will always go for the Peugeot as they have a pedigree for reliability.
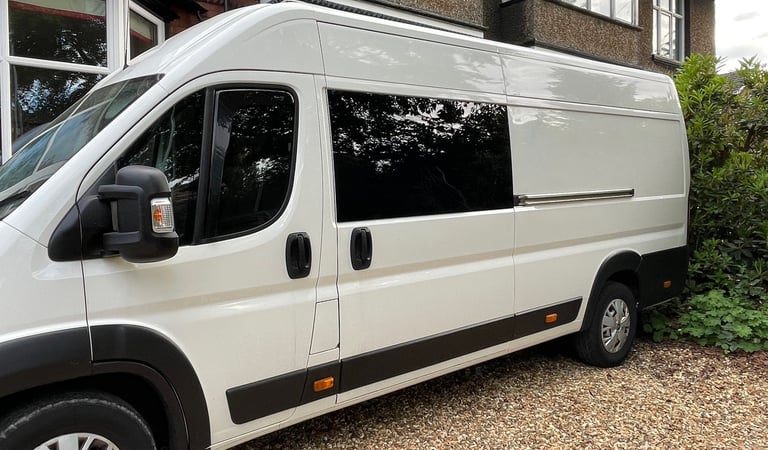

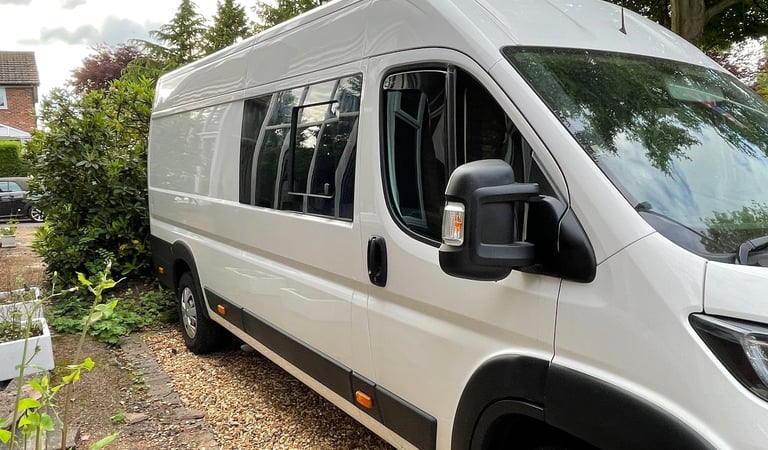

Before you start you have to have a real good idea of what you want, what you are going to fit and where its going to be, otherwise you could spend hours removing and refitting work that you have already done. Again we were lucky having done a couple of conversions before so we knew that we were going to have heating, hot water and toilet and a shower, plus the usual extras like TV etc.
So the first job was to strip the van out completely in the back, all ply and plastic covers from the interior walls and floor and then remove the bulkhead. The bulkhead is a simple thing to remove its just a series of bolts, a few with hex heads and then the whole thing just drops out, but save it as you may use part of it later. I cut the bulkhead down to a thin strip that covers the gap in the cab trim that was created by its removal, covered it in carpet and re fitted it.
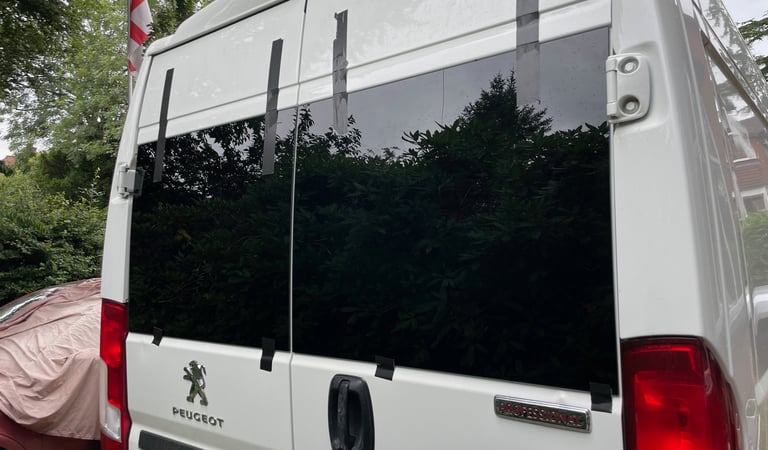
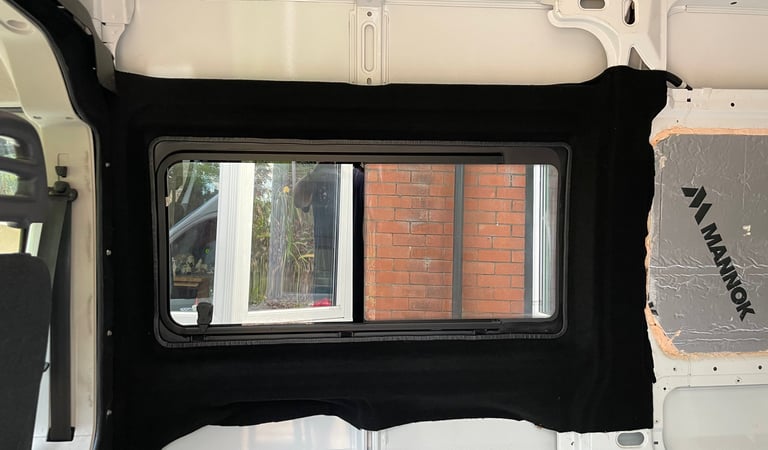
My next job was to fit the windows. We opted for the single glazed tinted glass windows, with the one on the drivers side that opens. These come with a fixing kit and trims. Having marked out the desired hole, I drilled a couple of access holes for my jig saw blade get through. I also glued some felt to the bottom of my jigsaw to stop metal running against paintwork whilst cutting and then just went for it being careful to keep to my markings and keeping the corners neat.
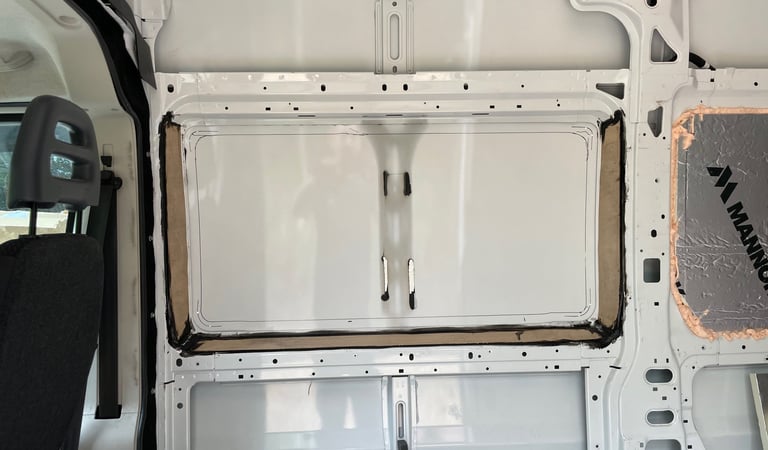

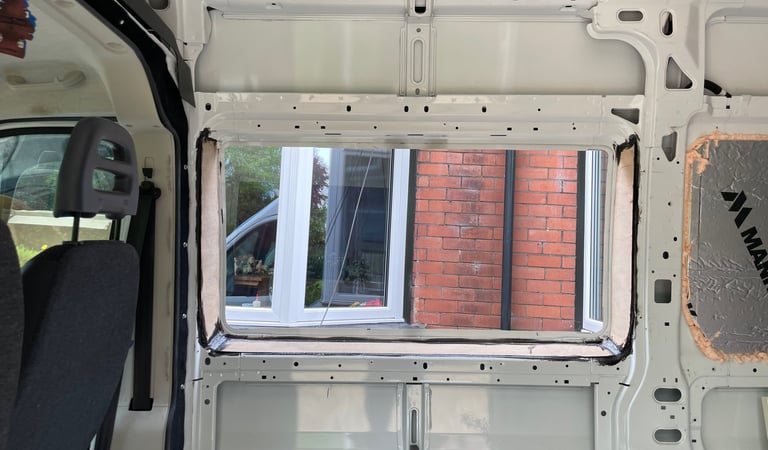

When the panel is removed its a good idea to make sure all the holes are covered on the structural slats where your carpet is going to cover, I used a very thin ply stuck on and filled with mastic. When this is done you can carpet the inside struts and fix the metal edging strip ready to apply the glass. When applying the glass remember to use the activator on the glass otherwise the adhesive will not stick very well and you will get water leaks at a later date. Paint the primer to the paint, then warm the adhesive to make it easier to apply. Make sure you apply in one single line application as every time you join a run there is a risk of leaking. Position the glass and press firmly into place and taping with a strong masking tape to hold into place. Repeat the process for both side and rear windows. You should be able to get all four windows fitted in one day.


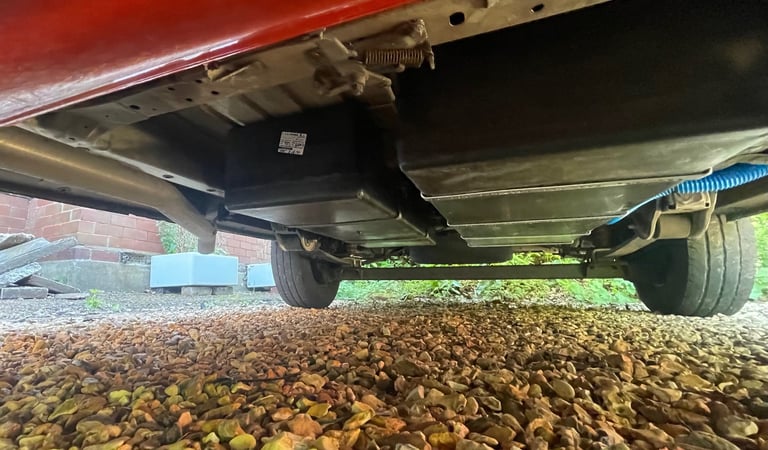
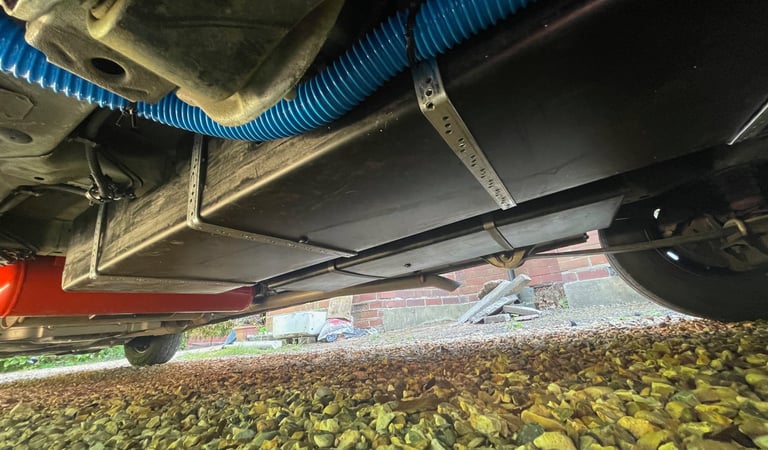
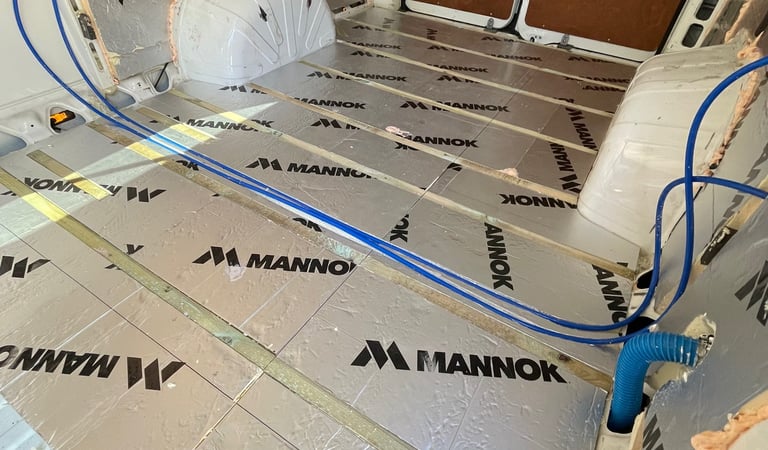
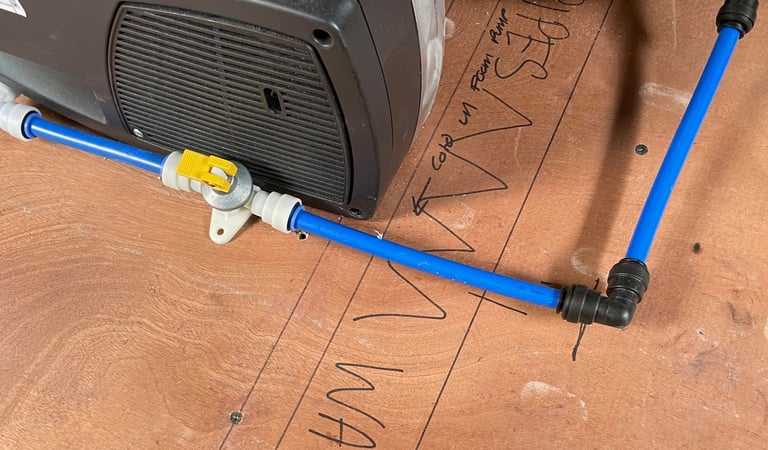
Before I fitted the floor or insulation I fitted a 25ltr underslung LPG tank, a 90Ltr CAK fresh water tank and 62ltr grey water tank. I also brought the pipes fron these into the van so that when the insulation went in it would not cover where I needed to feed these. The tanks were easy to fit. The LPG tank was bolted straight through the floor towards the front of the van, just behind the exhaust and the water tanks came with a fitting kit that allows you to attach then to the chassis without drilling. I did replace the straps the tanks came with with galvanised wall-plate straps as these were thicker and would last much longer. I had a little more difficulty threading the water feed and return through as I had to drill the underside of the sill and feed them through the spaces within the van structure. The fresh water tank hose being particularly difficult as it is a two inch pipe. I also fixed the pipes where I could with strong cable ties.


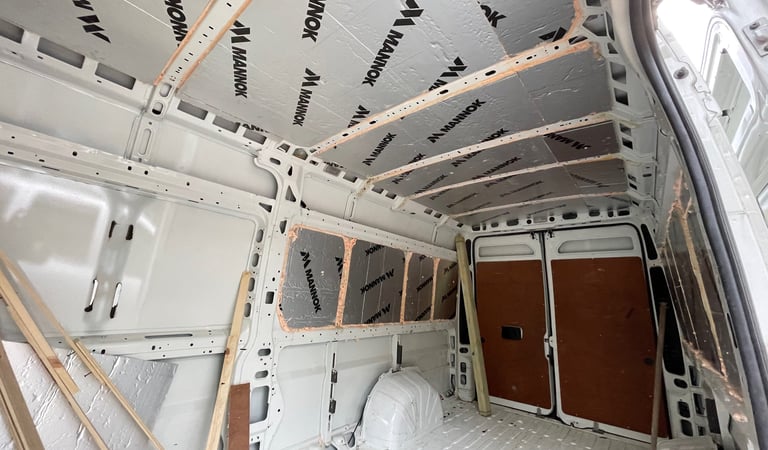
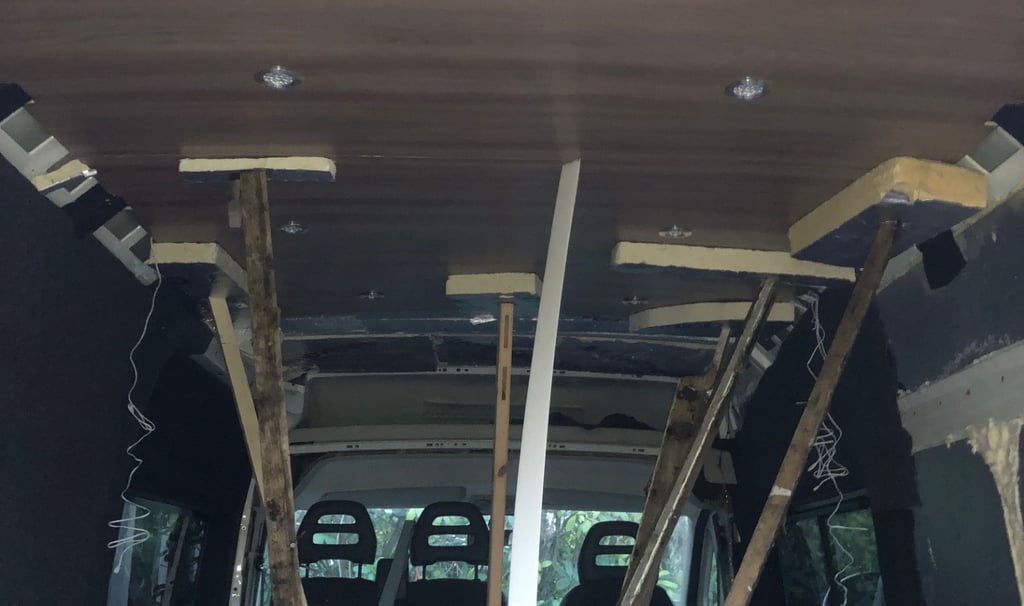
Next job I decided to do was insulate the walls and the roof and the floor. For the insulation I used a PIR insulation like Kingspan or Cellutex, I used Mannok as it was cheapest and they are pretty much all the same. I fitted the walls with 50mm and the roof with 25mm sticking them on with sticky foam, a foam developed for applying plasterboard to walls, however it is great for all sorts of applications. When gluing to the ceiling a propped the boards with a few laths for 10 minutes until the glue had set. The spaces around the boards I then filled with expanding foam. For the floor I glued 25mm batons down to add support for the ply floor covering and also something to screw in to and then glued 25mm PIR in between the batons. Finally I fitted the ply floor, gluing and screwing it to the batons.


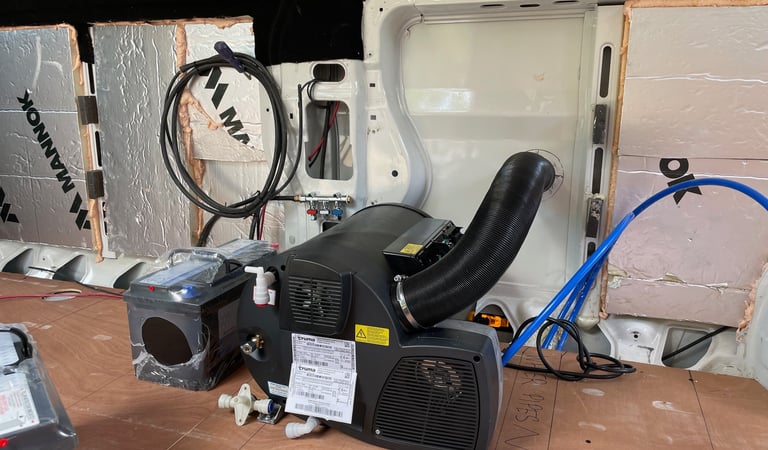
Now the floor was down I fitted the boiler and started to fist fix all the wiring and pipework ready for the ply and carpet walls to be fitted, some thought had to go into this as I had to anticipate all the wiring requirements in advance. The boiler was the simple but most expensive part of the build. I opted for a 6KW Truma boiler with fixing kit that cost around £1800, that provides 10lts of hot water on demand and blows hot air throughout the van (you can pipe it to any point you want). The 6KW is overkill for a campervan, however the bigger boiler allows you to run hot water almost continuously and it only ever runs on low so hopefully will last longer. The wiring is a bit like spaghetti at this point so make sure you tape the ends and write a note on them to help you remember what they are for and where they come from and got to. I also fitted the solar panel on the roof as I needed to get the wiring into the van before the ceiling covering went up. I fitted a 150w panel, but ended up adding another 150w to it at a later date as the one was not quite enough to keep the batteries topped up if we were not moving. I opted for three 130ah lead acid leisure batteries linked together to form a large battery bank. AT this point I also fitted a DC to DC charger that also controlled the solar input. The DC to DC charger is an easy connection, straight onto the main batter then run the cables under the cab flooring into the wall at the rear of the van. I fitted a mains connector to the outside of the van and connected this via a mains consumer unit, permanently wiring a smart battery charger the the 5AMP trip and a couple of mains sockets to the 16AMP trip, the. As the Truma boiler is gas or electric I wired the through a fused switch so that if we do plug in on a camp site the battery will stay on trickle charge and we have the use of the sockets or boiler to run on electricity.
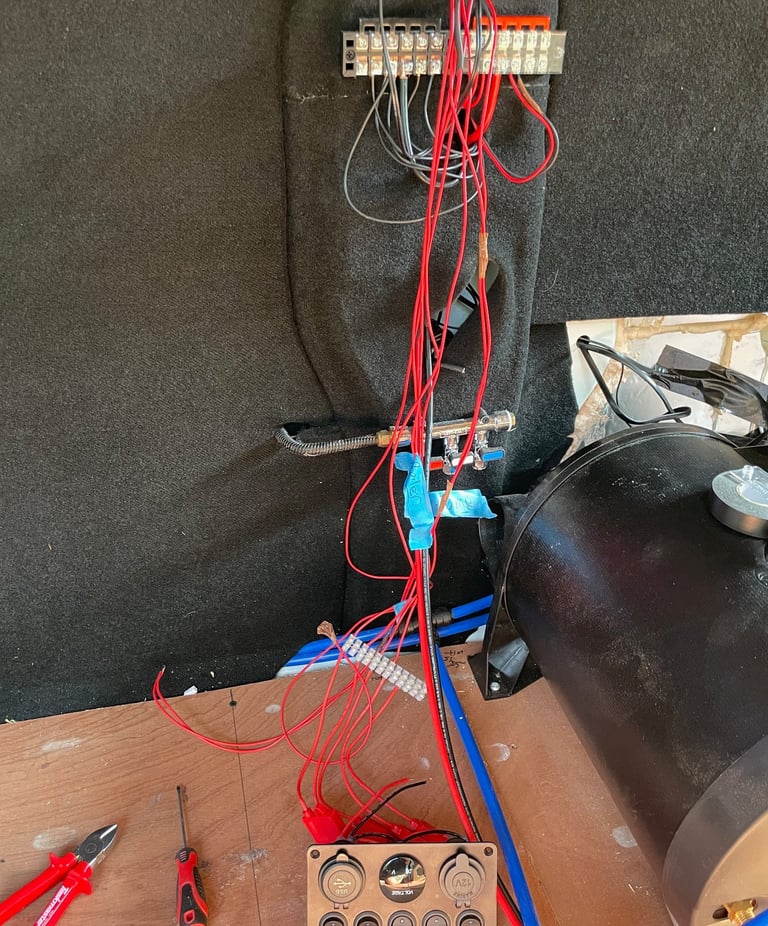



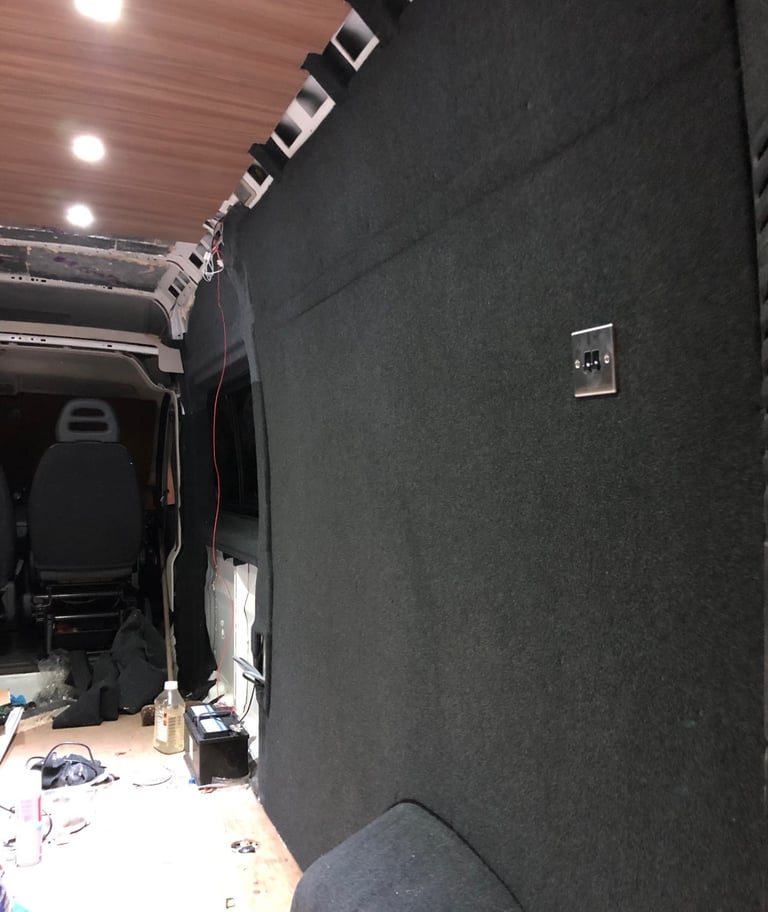
Next thing was the ply walls and carpeting. I went for standard black 4 way stretch carpet that is pretty easy to fit with spray carpet glue, spraying the back of the carpet and the ply separately and then gluing as a contact adhesive. I initially carpeted all of the metal reinforcing bars that would still be on show after the plywood was fitted and then cut the ply sheets to fit and covered the face side in carpet. A sticky job that is best done in a large flat clear space if you have one. I also fitted the Ceiling covering using a 6mm facing ply with a wood effect finish. cutting these to shape than working out where the LED spot lights were going to go, cutting out the holes and running the cables over the back using a bit of masking tap to hold them into place and then finally gluing the boards into place again using the sticky foam


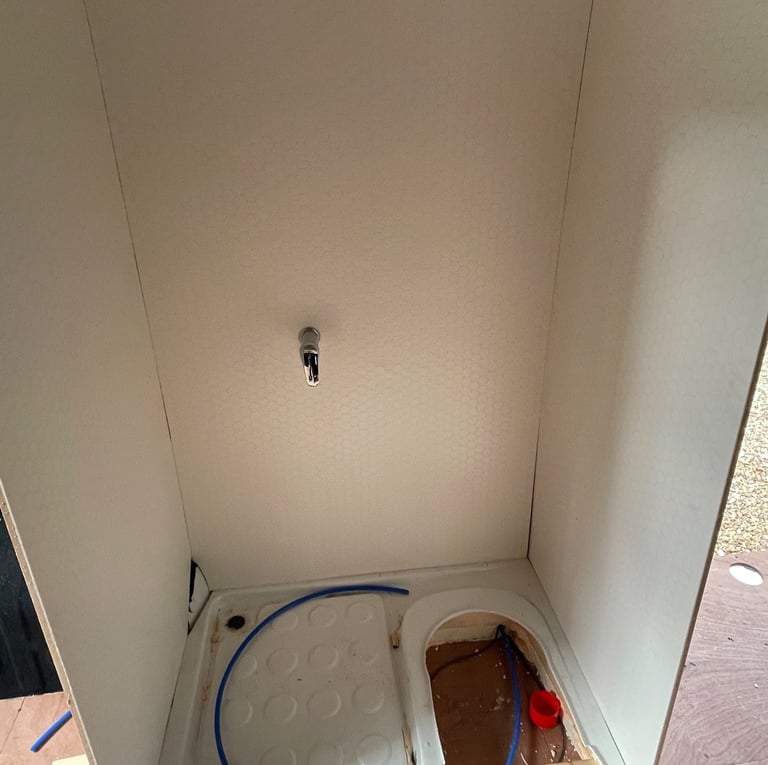
With the walls carpeted I now tackled the cupboards and toilet/shower cubicle. I used 12mm MDF and laminated it with the same 6mm facing ply that I used for the ceiling making a nice sturdy 18mm board. To waterproof this for the inside of the shower cubicle I glued a a layer of white flooring Lino. This is a simple and cheap way to waterproof your boards. I bought a Thetford cassette toilet, but decided to position the toilet so that I could remove the cassette from inside the van, just to reduce the holes I had to cut in the van. For the door I went for a black tambour sliding door to save space. This Slides on the inside of the cubicle and along the side to the rear of the van. After the shower cubicle was finished I decided to cover the floor in lino before building the cupboards.

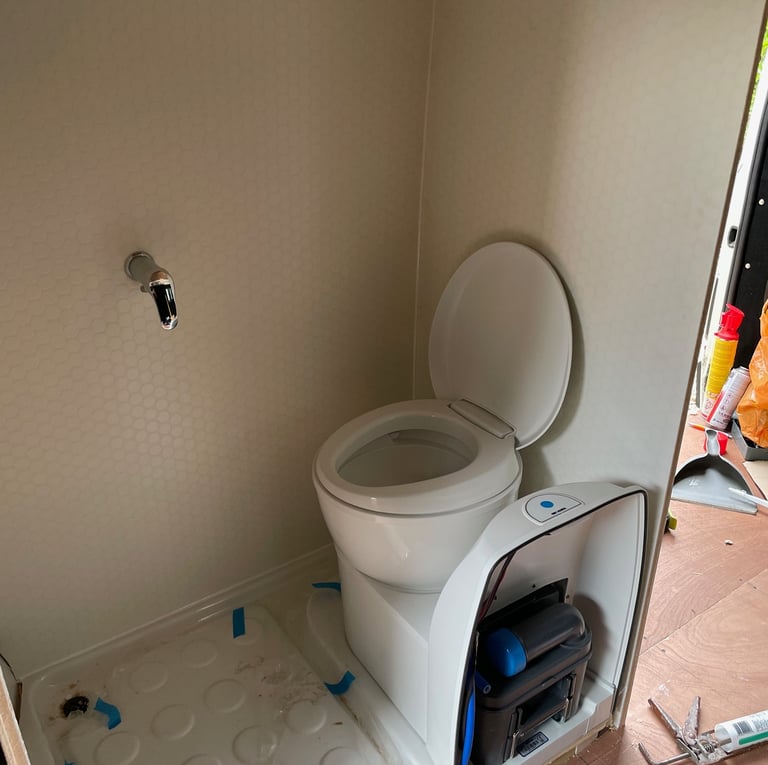

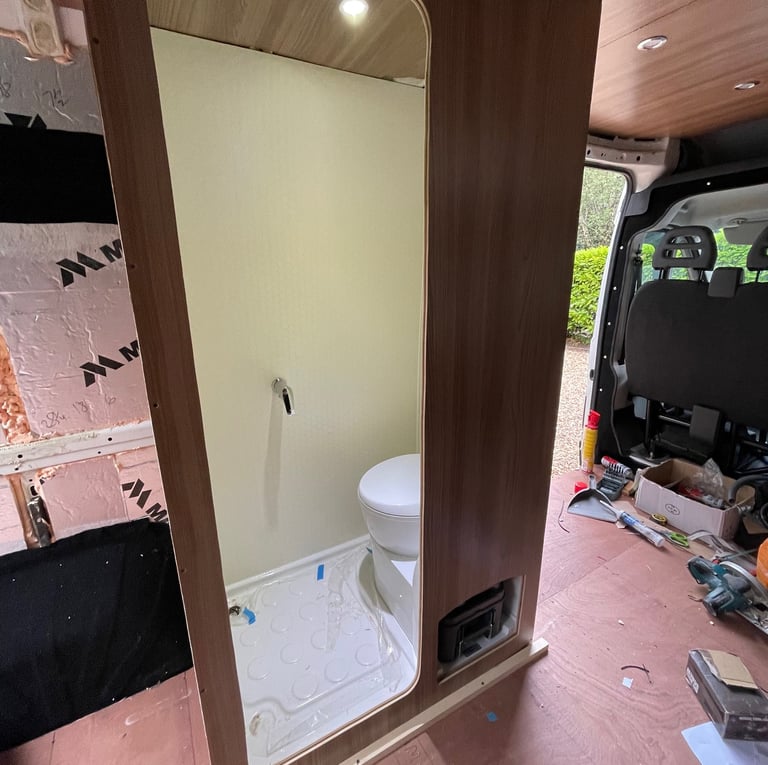

When building the cupboards I again used the laminated 18mm board, using a jigsaw to cut out the pattern, any exposed edge was routed with a 2mm router allowing a t-trim knock in edging strip to be applied. I used brown furniture blocks to screw the carcass together. I had to build the carcass around the boiler and batteries whilst being conscious that I was also fitting a combined oven and grill and piping the heat from the boiler equally around the van.
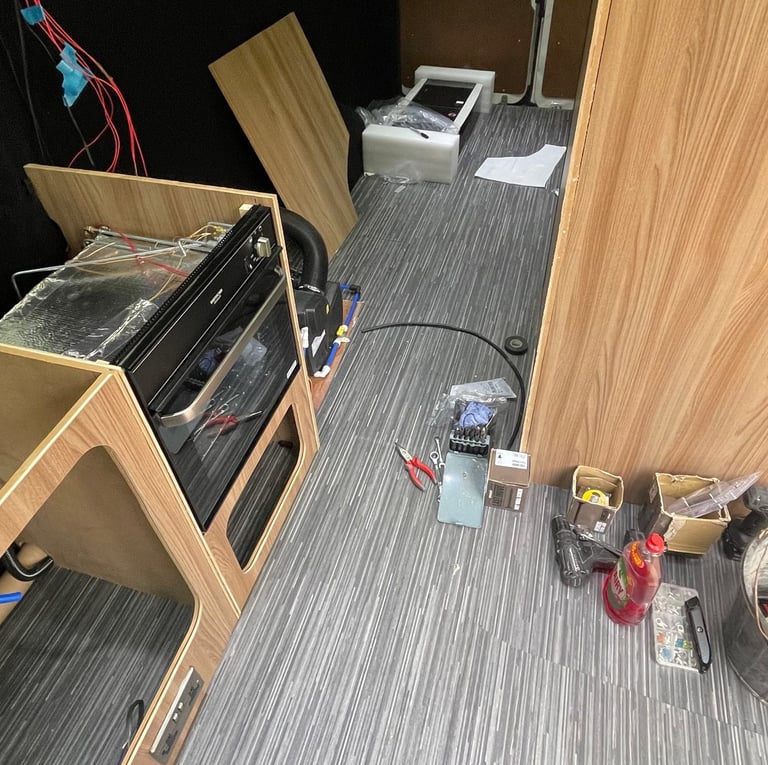

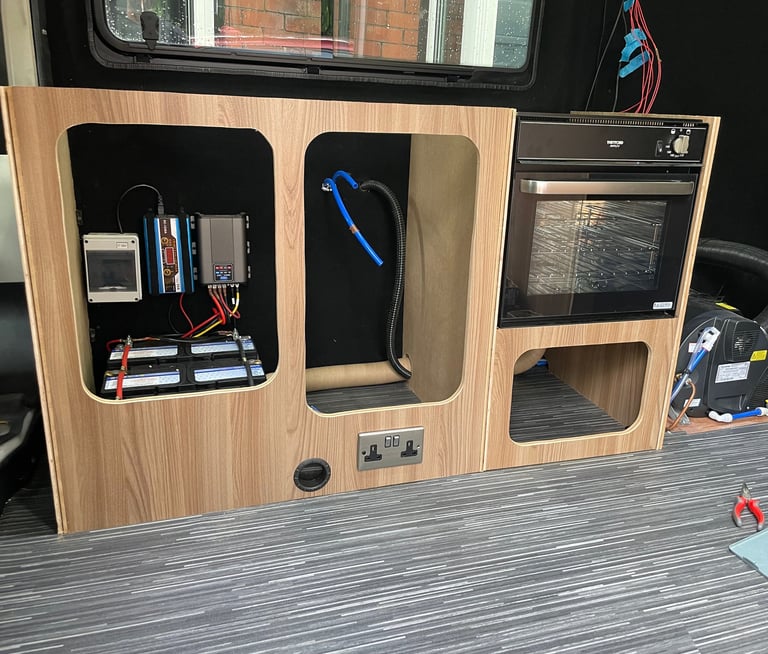

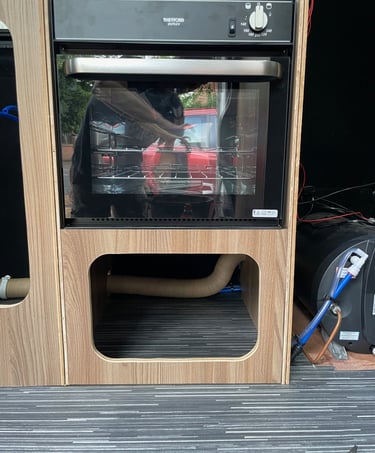

After building the cupboards I topped them with a laminated chip board and fitted the combined hob and sink. This then extended around to creating the seating/bed area. I angled the upright boards on the seating area to make it slightly more comfortable to sit on and created storage areas under the seats for the bedding etc. I planned to create a table later that would drop into the gap between the seats creating the double bed. The lift up doors in the storage area I left without hinges, the just pull up, I thought hinges would wear the underside of any sea covering I used.
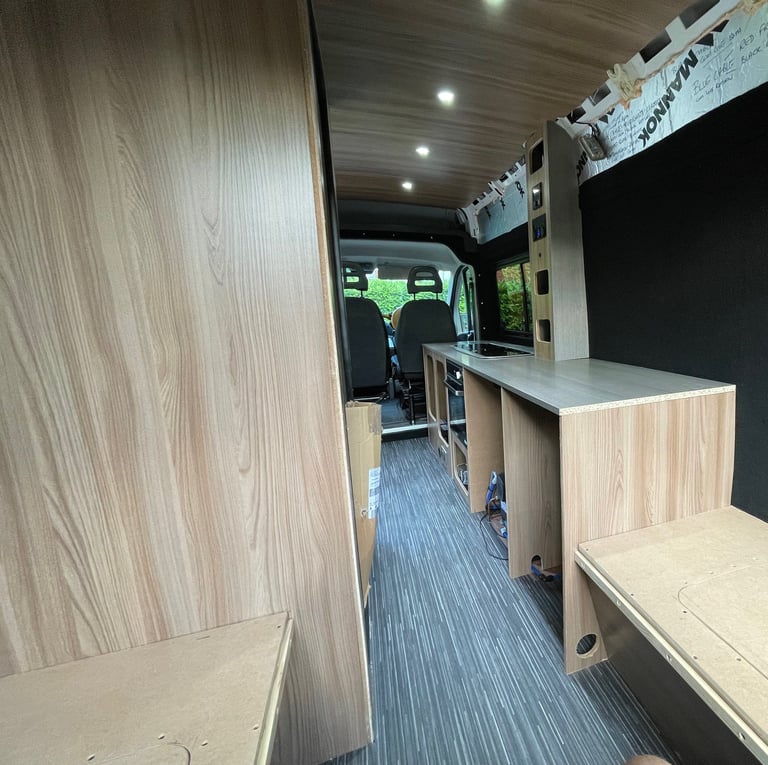

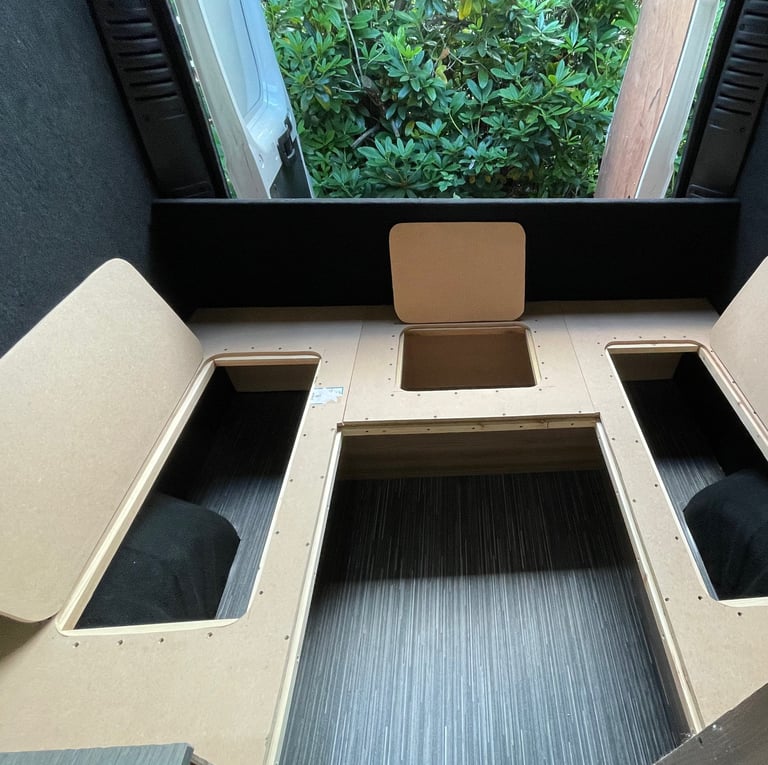

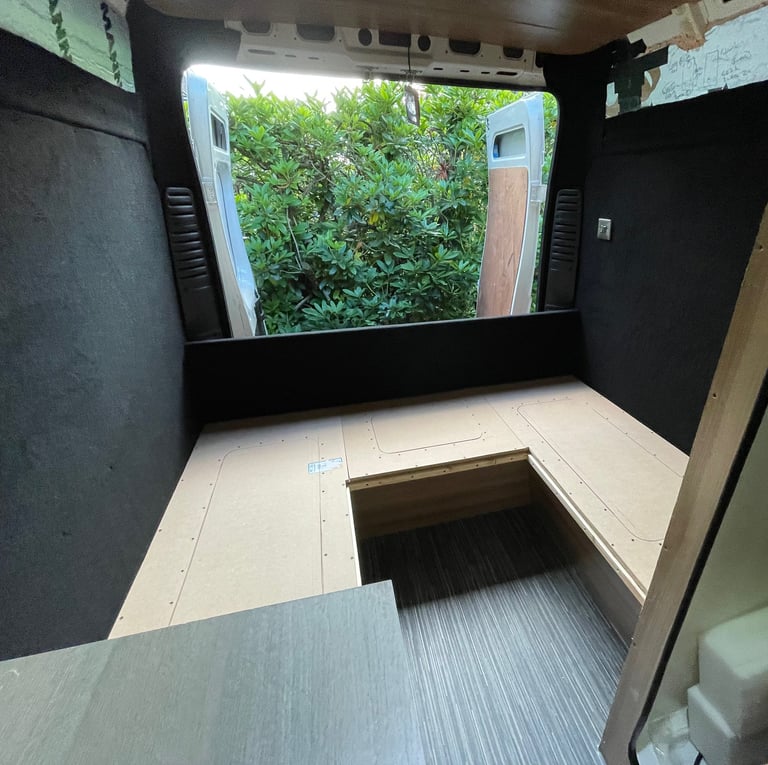

I made a table to fit the gap between the seats and used a pole and hole fitting, this was bolted directly through the floor making a surprisingly stable fitting. We used a double size memory foam mattress, cutting it to the sizes we needed for the seat foam and Tracey made covers in a durable material. The seat backs were made to drop down onto the gap where the table top goes to make the bed up at night. This works well and means we have plenty of seating in the day. It does however mean that you have to make the bed up every night.
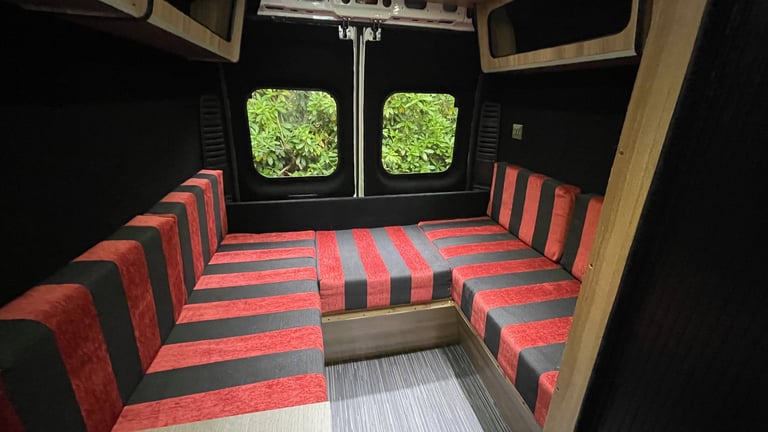

With the cupboard units and seating finished I decided to finish off the cupboards by adding the knock on edging strips and fitting the doors. I decided to go for slightly larger doors that holes so the closed against the front of the units. This seemed the easiest and tidiest way to fit them, it also made it easy to fit the cupboard push button catches. I also created a centre console to put all the electrical controllers and boiler controller, this also gave me the opportunity to incorporate a couple of handy storage holes. The top of the walls were finished with storage cupboards above the sink and hob, but also above the seating at the rear. I decided not to put doors on these as it would restrict the access and be awkward to hold open when in use.
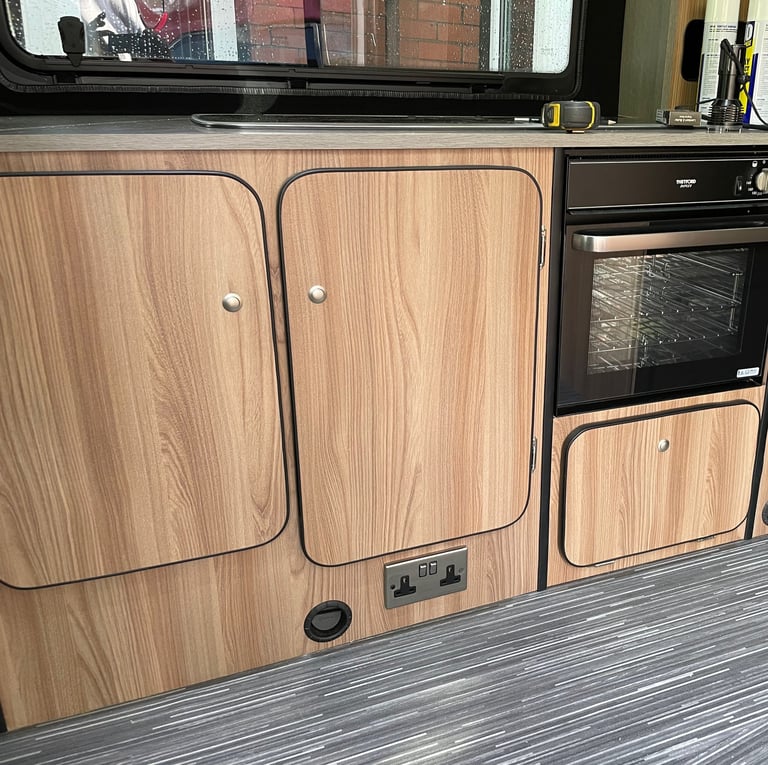

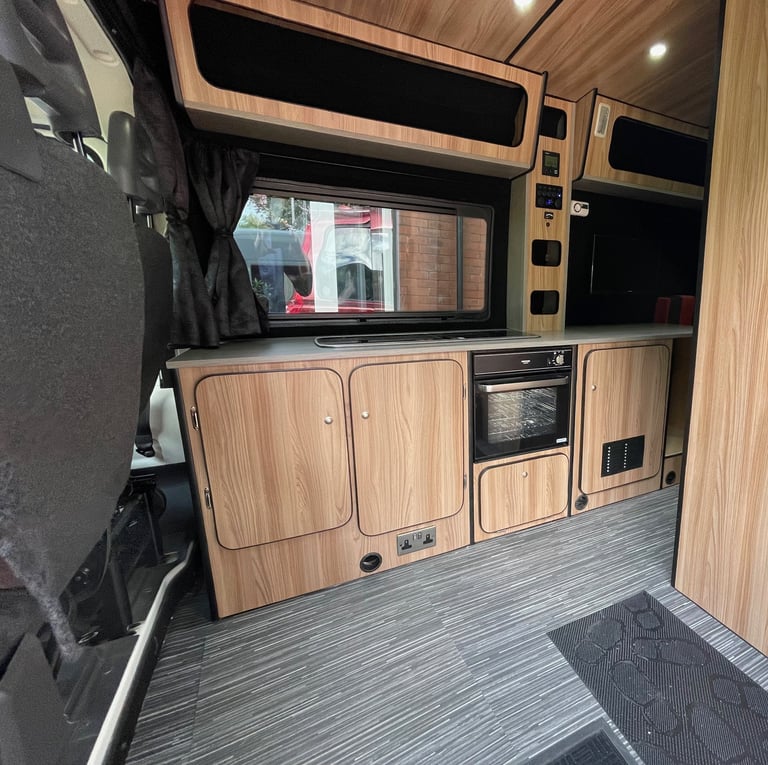

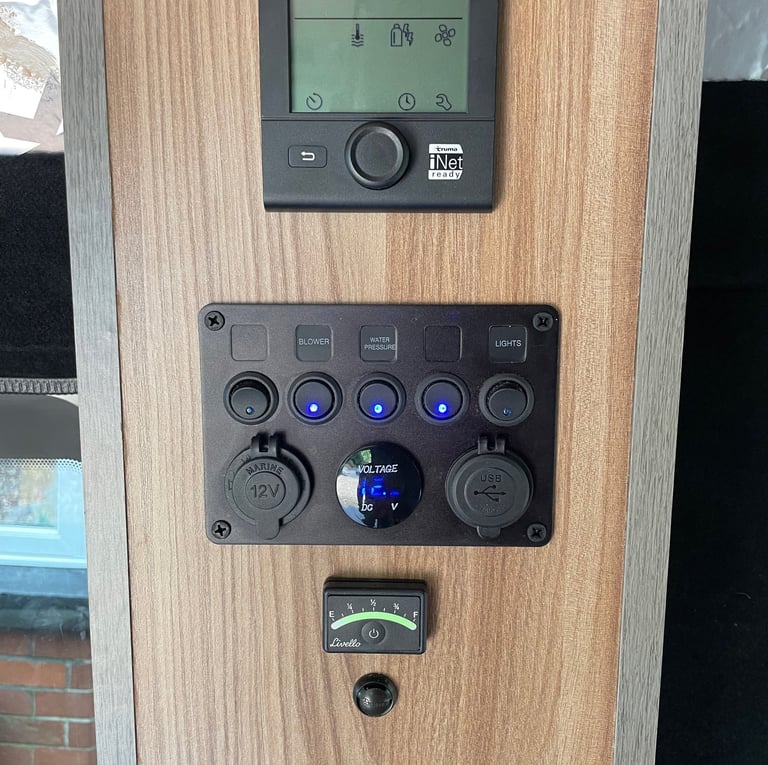

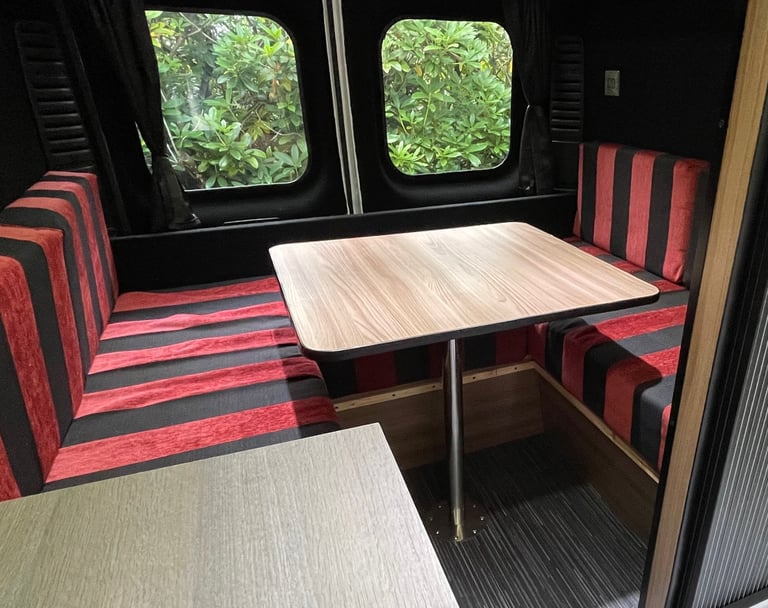

There was loads of finishing details that I had to complete, little things like making a holder for the table and pole when not in use, fitting a shoe holder, a pick-nick table holder to the rear door, a holder for the leveling ramps and lots of little things that you think about each time you use the van.

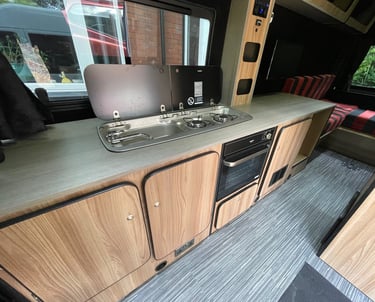
Finally after using the van for 12 months of using the van and one expended 4 week tour of the EU, I decided to replace the lead 3 acid batteries with one 460AH Lifepo4 battery as the lead acid struggled after about 5 days when not moving. The Lifepo4 are expensive but a fantastic bit of kit giving enough battery reserve for days off grid. This was the point I added the extra solar panel and with the two combined with the Lifepo4 battery I never actually need to plug in as they charge sufficiently to run the fridge and top up the battery. I also fitted a pull out step to the underside of the van, as sometimes the step down can be quite high especially on uneven ground.
This is by no means a definitive guide to a van conversion, just our experience based on previous vans. We tried to improve our previous experience by adding and moving things about. There are things that I haven't mentioned like the awning, the compressor fridge or the Cello 12v tv or the rooflight that I fitted after being too hot in France, but if you have any questions we`d be happy to try and help out, just drop us an email and we will get back to you. We are not experts and everything is self taught, but whatever we have done seems to work. The only thing I would like in another van is a fixed bed, but with two dogs and lots of UK holidays in the rain it just isn`t practical unless I could mechanise a bed to lift up in the day?
